
Getting Started: Your First API Call
This step-by-step guide walks you through setting up your Apideck account and making your first Unified API call. You can complete this in under 10 minutes.
In this article
Step 1: Create your account
Step 2: Enable Unified APIs and connectors
Step 3: Get your API key
Step 4: Connect an integration with Vault
Step 5: Make your first API call
Step 1: Create your account
If you haven't already, sign up for Apideck. During signup, you'll choose an application name and subdomain. Once completed, you'll land in the Apideck dashboard.
Tip: You can create multiple applications or environments (e.g., development, staging, production) from a single account. For details on managing these, see How to manage an environment or application in the Account Management section.
Step 2: Enable Unified APIs and connectors
Go to the Configuration page in your dashboard.
Choose one or more Unified APIs to enable (Accounting, CRM, HRIS, File Storage, E-commerce, Issue Tracking).
Within each Unified API, enable the specific connectors your users will need (e.g., Salesforce, HubSpot, QuickBooks).
The Unified APIs and connectors you enable here will appear for your users in Vault.
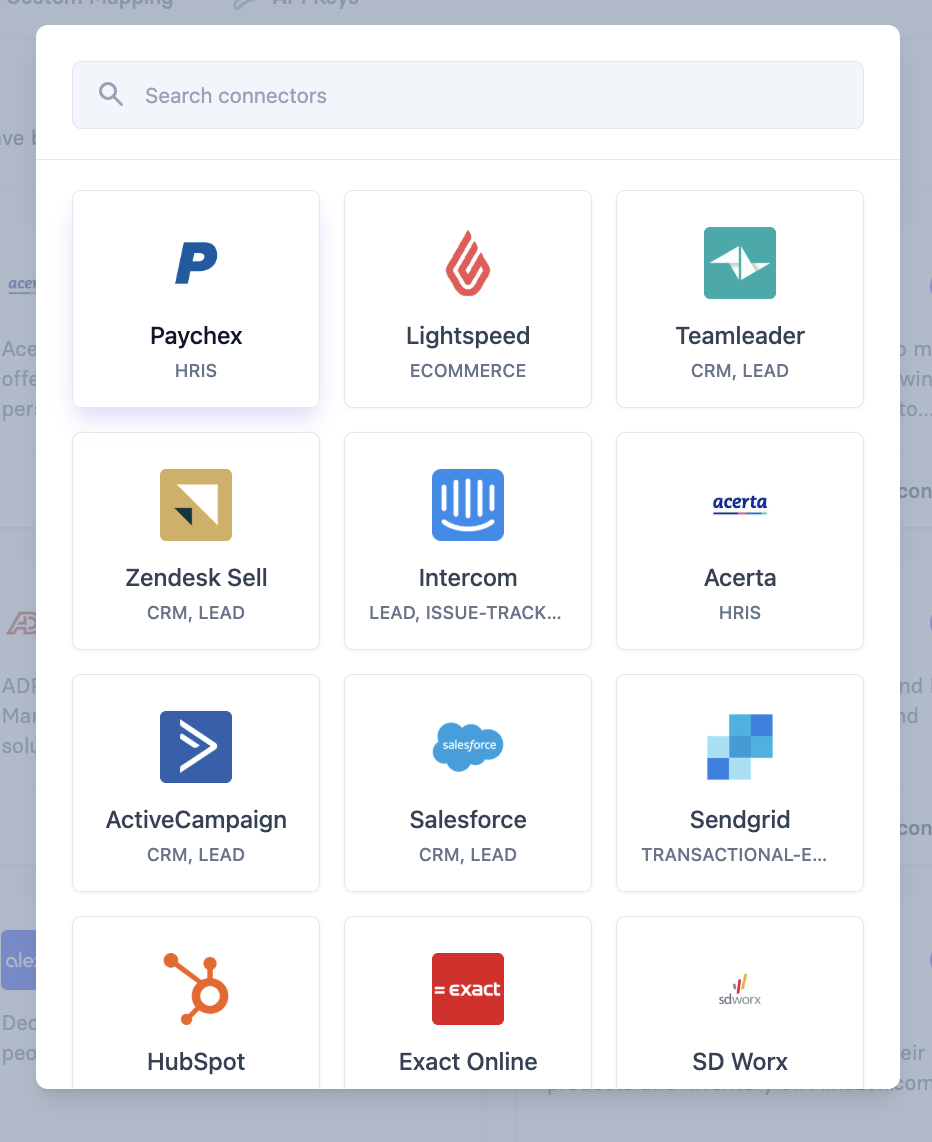
Some connectors come with sandbox OAuth apps from Apideck by default, so you can test immediately. When you're ready for production, you'll need your own OAuth credentials - see Going to Production: A Checklist for details.
Step 3: Get your API key
Go to the API Keys page in your dashboard. You'll find two values you need for all API calls:
App ID - Your application identifier.
API Key - Your secret key for authenticating requests.
Copy both and store them securely. If your API key is ever compromised, you can regenerate it from this page. For more on API key management, see the Account Management section.
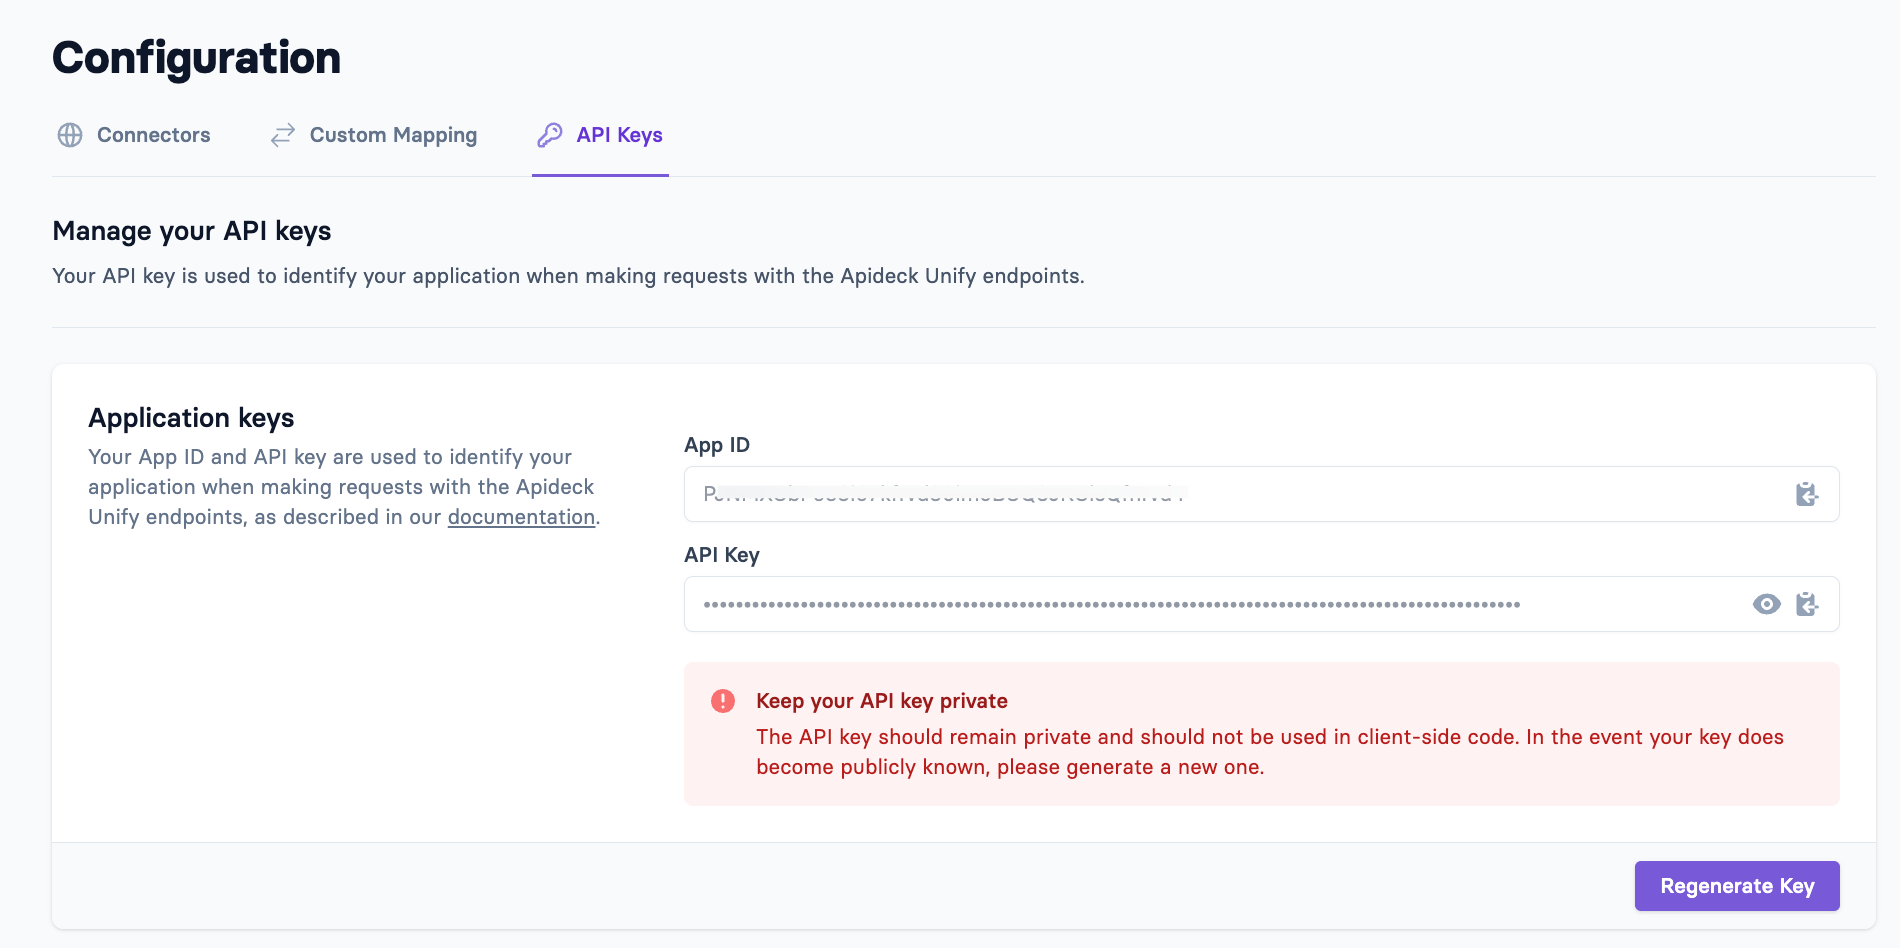
Important: API calls should always be made server-side to prevent exposing your API key.
Step 4: Connect an integration with Vault
Before you can call a Unified API, you need at least one authorized connection. The fastest way to test is with Hosted Vault:
Go to the Vault page in your dashboard.
Under Hosted Vault, click Launch Demo. This opens Vault for a test consumer.
Find one of the connectors you enabled in Step 2 and click Add.
Click Authorize and complete the provider's OAuth flow.
Once authorized, you'll be redirected back to Vault and the connection is live.
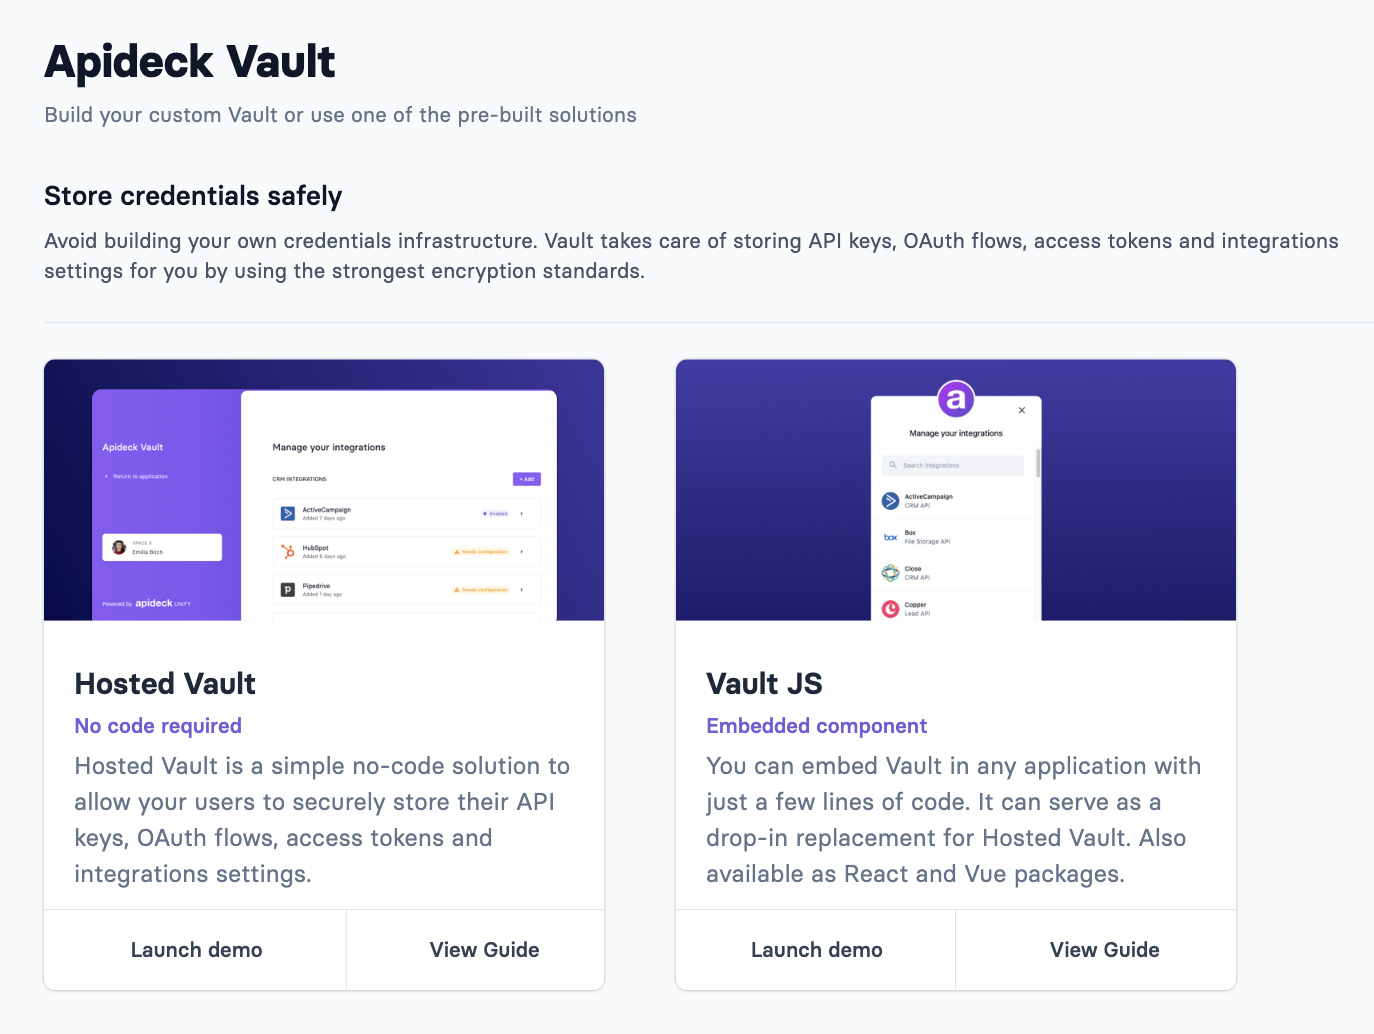
Note: Some connectors require additional settings before they can be used. Vault will show a "Needs configuration" badge, fill in the required settings and save. For a deeper understanding of how Vault works and the different ways to integrate it, see Understanding Vault and Authentication.
Step 5: Make your first API call
Here's an example curl request to the CRM Unified API that lists companies:
curl --request GET \
  --url 'https://unify.apideck.com/crm/companies' \
  --header 'Authorization: Bearer {API_KEY}' \
  --header 'x-apideck-app-id: {APP_ID}' \
  --header 'x-apideck-consumer-id: test-consumer' \
  --header 'x-apideck-service-id: {SERVICE_ID}'
Replace the placeholders:
{APP_ID}and{API_KEY}- from Step 3.{SERVICE_ID}- the connector ID in kebab-case (e.g.,salesforce,hubspot,google-drive). See the full list at developers.apideck.com/connectors.test-consumer- the default consumer ID used by Hosted Vault's demo mode.
Once everything is set up correctly, you'll get a JSON response with normalized data from the provider. In case you receive errors or unexpected behavior, check the request logs in your dashboard, see How to see the log of a request for guidance.
For a detailed explanation of what each header does and common mistakes, see Understanding API Headers, Consumers, and Service IDs.
What's next?
Now that you've made your first call, here are the next steps:
Understand Vault - Learn how to let your users connect integrations from inside your product. See Understanding Vault and Authentication.
Page through results - Learn how cursor-based pagination, filtering, and sorting work. See How Pagination, Filtering, and Sorting Work.
Set up webhooks - Get notified in real time when connections change or data updates. See the Webhooks section.
Explore the API - Use the Apideck API Explorer to test endpoints in your browser with credentials pre-filled from your dashboard.
Install an SDK - We offer SDKs for JavaScript/TypeScript, PHP, Python, and more.
Related resources: