
How to invite a user to Apideck Unify
Inviting team members to your Apideck account lets them collaborate on building and operating your Unify integrations. This guide walks you through sending an invitation from the dashboard and explains the roles you can assign in Unify.
Who can invite users? Only Admins and Owners can invite new team members and assign roles. If you don't see the option to invite users, contact an Admin or Owner on your team.
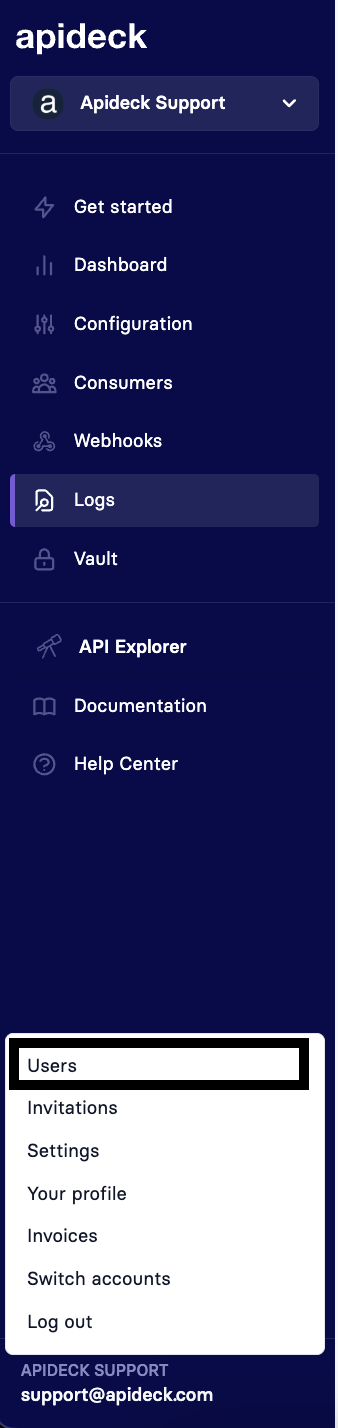
Step 1: Open the Account menu
From the Apideck dashboard, click your account name in the bottom-left corner of the sidebar to open the account menu, then select Users.
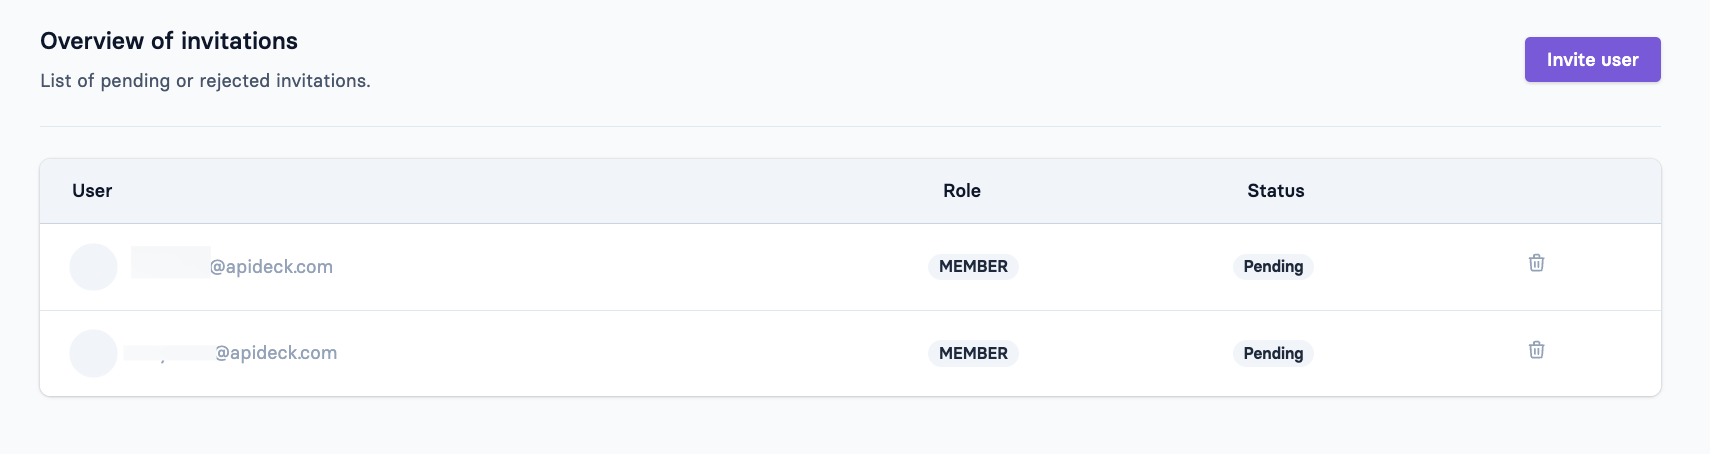
Step 2: Click "Invite user"
You'll land on the Account → Users page, which shows an overview of your current team members. In the top-right corner, click the purple Invite user button.

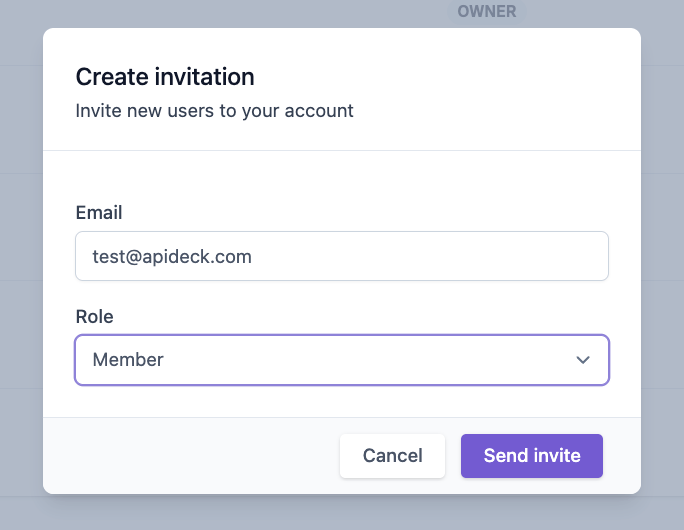
Step 3: Fill in the invitation details
A Create invitation dialog will open. Enter the following:
Email - the email address of the person you want to invite.
Role - the permission level you want to grant (see role descriptions below).
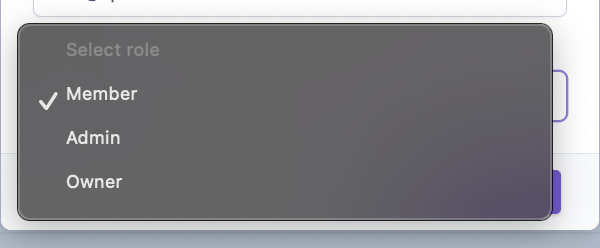
Step 4: Choose a role
Click the Role dropdown to choose between Member, Admin, or Owner. Each role grants a different level of access in Unify - see the role overview below for details.
Step 5: Send the invitation
Once you've entered the email and selected a role, click Send invite. The invitee will receive an email with a link to join your account.
You can review and manage pending invitations at any time from the Invitations tab on the Account page.
User roles and permissions in Unify
Unify uses a tiered role system: Admins have everything Members have, and Owners have everything Admins have. Most day-to-day work in Unify is available to all roles, with a small number of sensitive actions reserved for Admins and Owners.
Members
Members have full day-to-day access to build and operate Unify integrations:
Applications - create new Unify applications
Integrations and connectors - create, update, and delete integrations; configure integration settings
Webhooks - create, update, and delete webhooks
Connections - update and delete consumer connections
Consumers - create consumers; view the consumer list and details; access Vault sessions
Custom mappings and target fields - create, update, and delete target fields and field mappings; view resource schemas and examples
Data scopes - view and update data scopes
Read access to unified APIs, applications, integrations, webhooks, connections, and application sessions
Admins
Everything Members can do, plus:
Regenerate Application API keys - Members cannot do this
Update Application settings - name, configuration, and other application-level settings
Delete Consumers - Members can create consumers but not delete them
Manage team members - invite users, change roles, and remove users from the account
Owners
Everything Admins can do, plus:
Delete the ecosystem - note that this also removes the associated Unify application and all its data
Quick reference: who can do what in Unify
Action | Member | Admin | Owner |
|---|---|---|---|
Create Unify applications | ✅ | ✅ | ✅ |
Create, update, delete integrations and webhooks | ✅ | ✅ | ✅ |
Update and delete consumer connections | ✅ | ✅ | ✅ |
Create consumers and access Vault sessions | ✅ | ✅ | ✅ |
Manage custom mappings and target fields | ✅ | ✅ | ✅ |
View and update data scopes | ✅ | ✅ | ✅ |
Regenerate Application API keys | ❌ | ✅ | ✅ |
Update Application settings | ❌ | ✅ | ✅ |
Delete Consumers | ❌ | ✅ | ✅ |
Invite team members | ❌ | ✅ | ✅ |
Remove users from the account | ❌ | ✅ | ✅ |
Delete the ecosystem | ❌ | ❌ | ✅ |
Need to change someone's permissions?
Roles can't be edited directly. To change a team member's role, an Admin or Owner needs to remove the user from the Account → Users page and send a new invitation with the desired role.
Still have questions? Reach out to us at support@apideck.com.