
Ecosystem: customizing your marketplace with custom CSS
Beyond the colors, logo and layout options under Settings → Template, you can fine-tune how your ecosystem looks with your own CSS. A common example is hiding the "Request a listing" section.
Where to add it
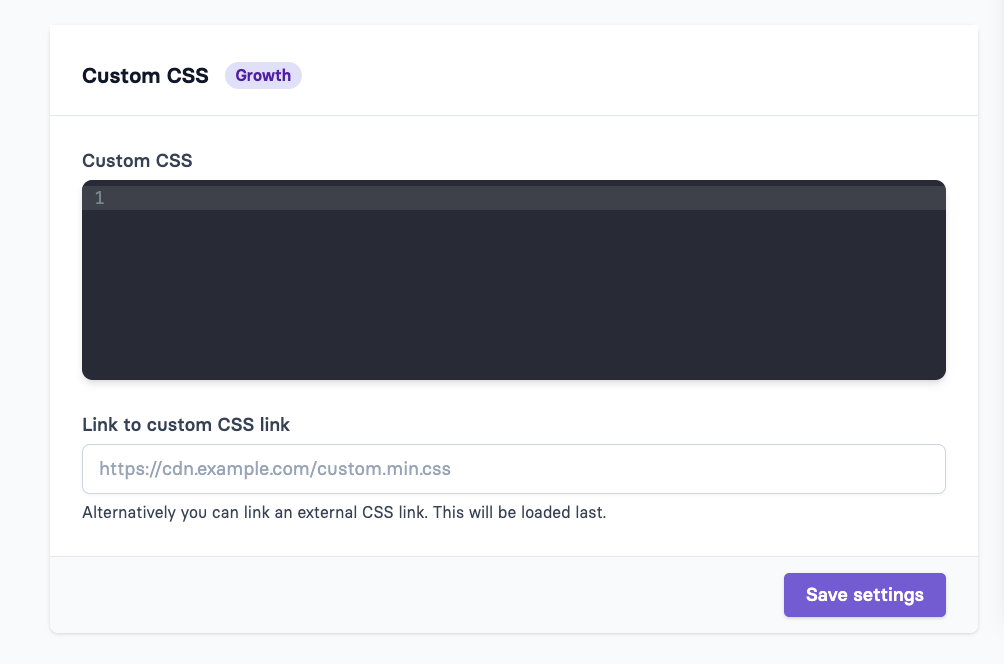
In the Apideck dashboard, go to Ecosystem → Settings → Template and scroll to the custom code section:
Field | What it does | Plan |
|---|---|---|
Custom CSS | CSS added to every page of your ecosystem | Growth and Enterprise |
Link to custom CSS | A URL to your own stylesheet, loaded after everything else | Growth and Enterprise |
Custom JavaScript | A URL to a script file, loaded on every page | Paid plans (not during a trial) |
Custom HTML (navigation and footer) | Replaces the default navigation or footer with your own HTML | Enterprise |
If you don't see a field, it isn't included in your current plan. Contact your Apideck account manager to upgrade.
Hide the "Request a listing" section
The sidebar's request section is the "Can't find what you need?" heading, its text and the request button.
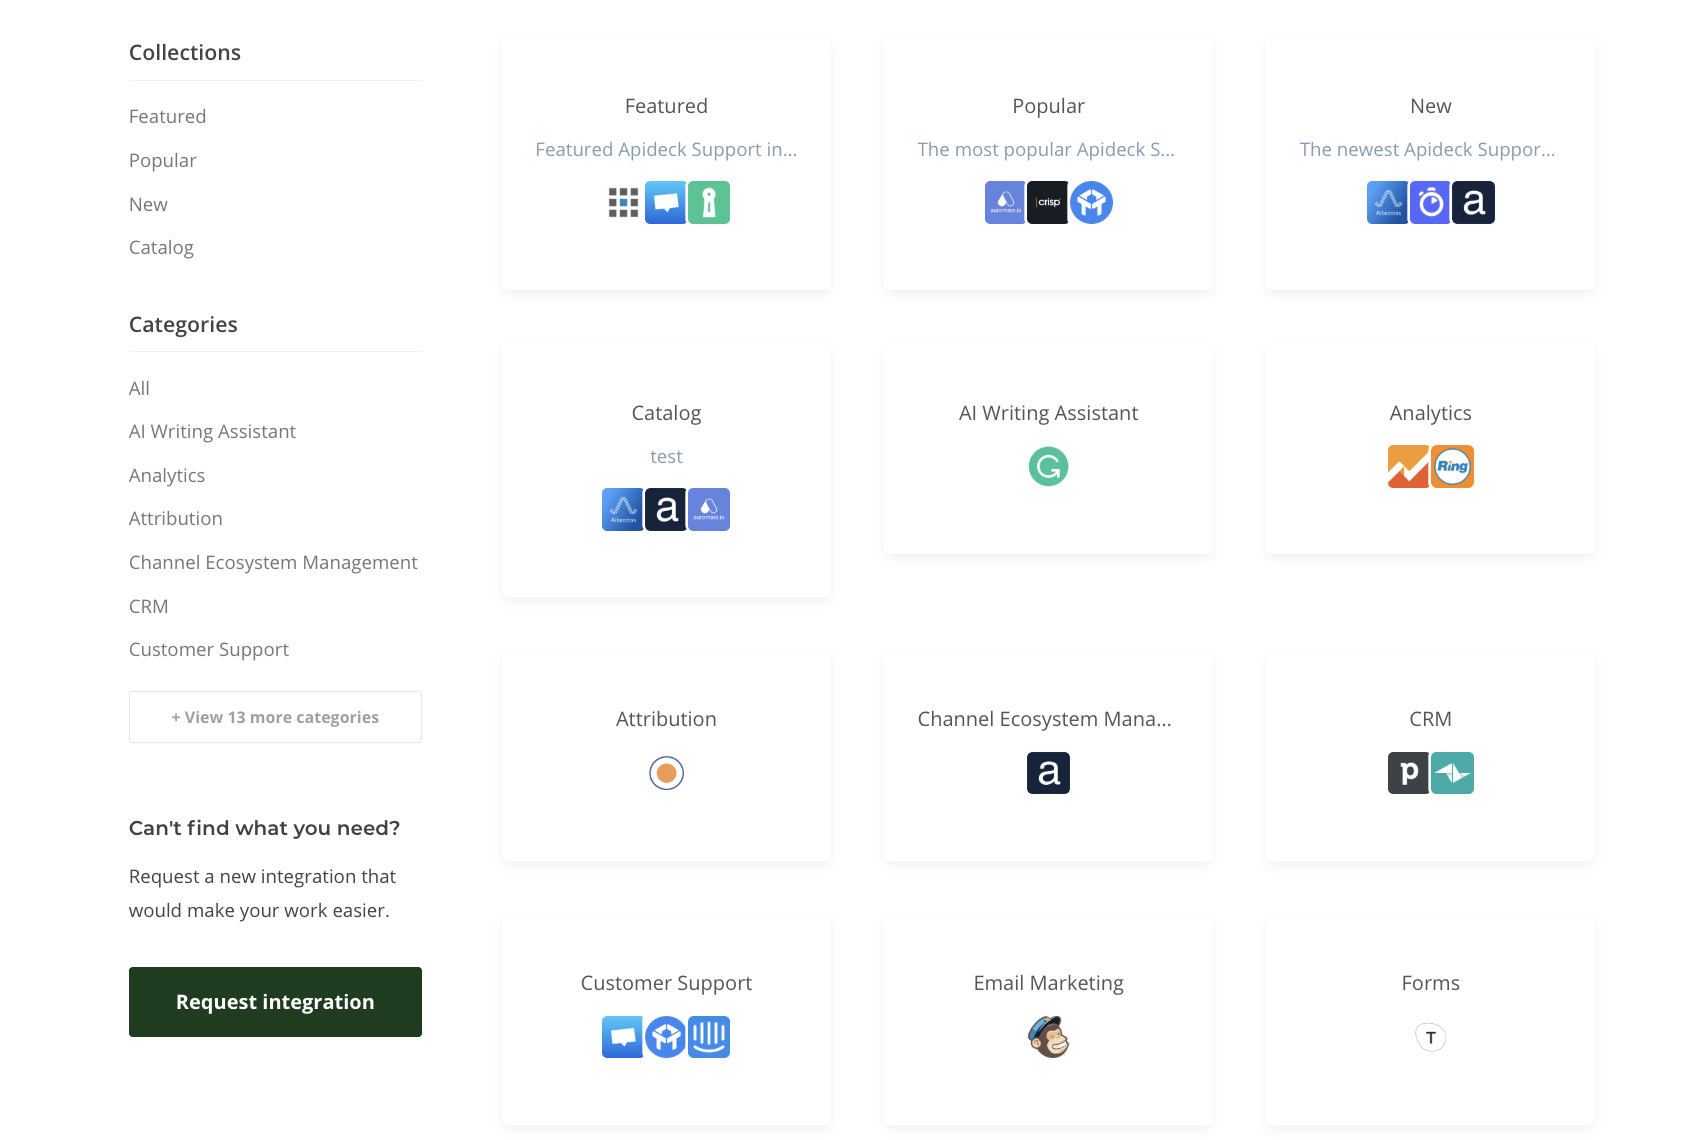
To hide all of it:
.sidebar .integration-request-container {
  display: none;
}
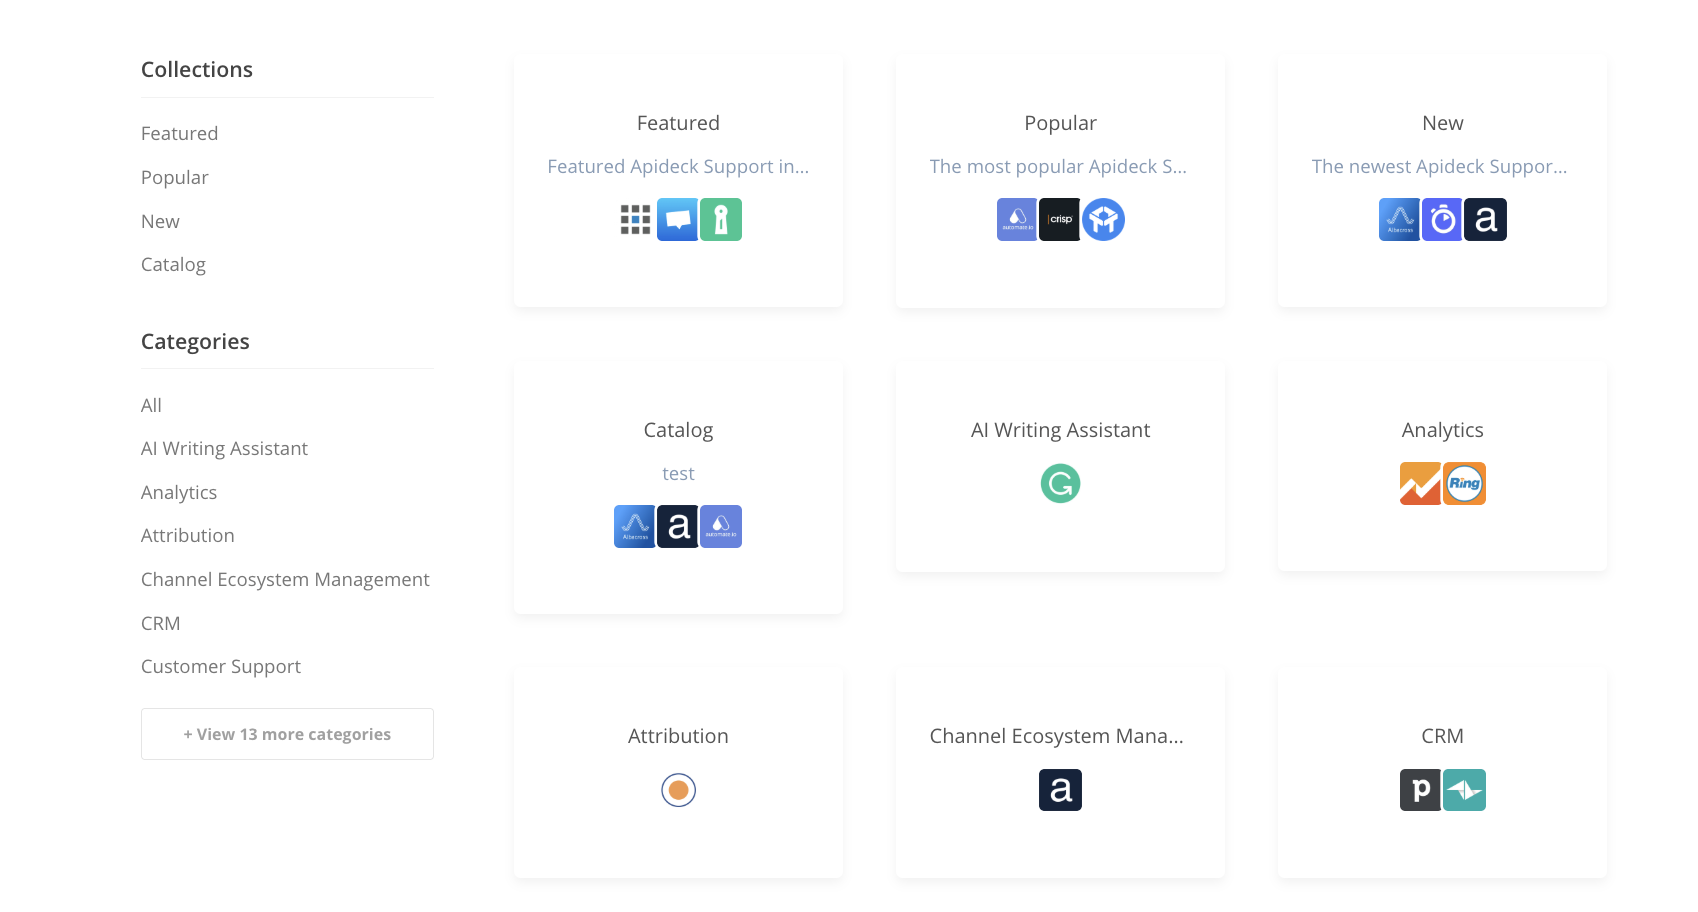
Good to know:
This applies to the default sidebar menu. If you use the filter or pill menu style (Settings → Template → Menu), the button is placed differently.
The request button can also appear on upcoming and voting listing cards.
Rather than hiding it, you can point the button to your own form or page. Set a request link in the Template settings, and the button opens that link instead of Apideck's request form.
To hide the public voting board ("requested listings"), turn off that option in the Template settings. No CSS needed.
Style nested bullet lists in listings
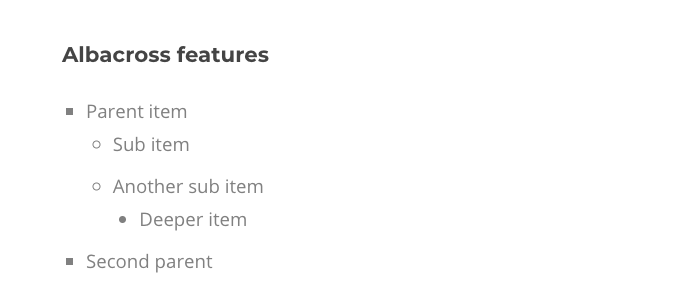
To indent nested bullet points in a listing's description, features or pricing, and give each level its own bullet style:
/* Nested bullet level 2 */
.listing-body .markdown ul ul {
  margin-left: 20px;
  list-style: circle;
  margin-bottom: 0;
}

/* Nested bullet level 3 */
.listing-body .markdown ul ul ul {
  margin-left: 20px;
  list-style: disc;
  margin-bottom: 0;
}
Then indent the sub-items in the listing text (Description, Features or Pricing): type two spaces before the dash for each level. The Tab key doesn't indent in these fields, so type the spaces yourself:
- Parent item
  - Sub item
  - Another sub item
    - Deeper item
- Second parent
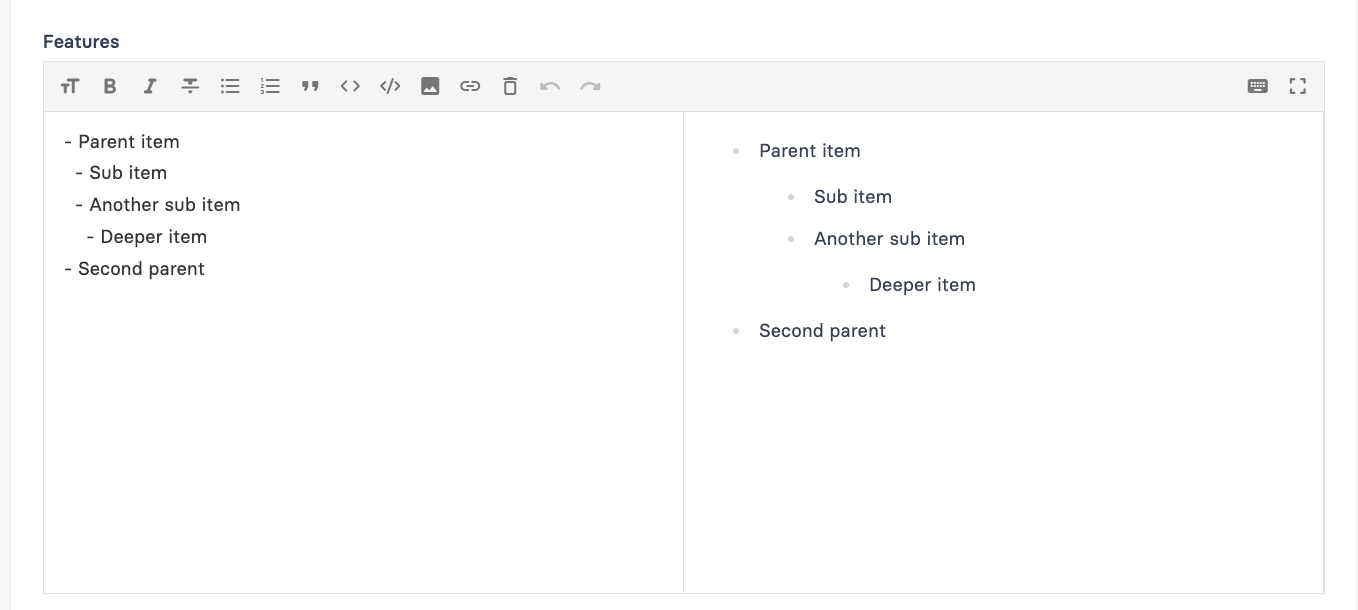
Save the listing, and the layered bullets show on the listing page. The same works when partners edit their listing in the partner portal.
Other elements you can style
These class names are stable and safe to target:
Element | Selector |
|---|---|
Top navigation bar |
|
Header / masthead |
|
Listing cards |
|
Listing description text |
|
Call-to-action banner |
|
Footer |
|
"Request a listing" section |
|
Tip: prefer these readable class names over generated ones. Class names that look random (with hashes) can change when the ecosystem is updated.
Changes not showing?
Your CSS is saved immediately, but your browser may still show an older copy of the page. Do a hard refresh, or open the site with View ecosystem in the Template settings. See also Ecosystem: changes aren't showing on the live site.
Related
Contact Apideck support through the Customer Portal (the Requests link at the top of this help center), your Slack channel with us, or support@apideck.com if you need help with a specific change.